Tinted windows can be a stylish and practical addition to your vehicle, offering privacy, UV protection, and heat reduction. However, there are circumstances when removal of tinted windows becomes necessary. Whether due to legal requirements, damage, or personal preference, understanding the reasons and methods for tint removal is crucial. This article explores when and why tint removal is necessary and provides a guide on how to do it safely.
When and Why You Need to Remove Tinted Windows
Legal Compliance
One of the most common reasons for removing tinted windows is to comply with state or local regulations. Tint laws vary widely across different jurisdictions, specifying permissible tint shades and visibility levels. If your tint does not meet these legal standards, you may face fines or be required to remove the tint to pass vehicle inspections. Ensuring your vehicle adheres to legal tint shades is crucial to avoid legal complications.
Damage or Wear
Over time, window tints can become damaged, faded, or bubbled due to exposure to the elements and regular wear and tear. Damaged tint not only detracts from the appearance of your vehicle but can also impair visibility, posing a safety risk. Removing and replacing old or damaged tint ensures clear visibility and maintains the aesthetic appeal of your vehicle.
Visibility and Safety Concerns
While tinted windows can enhance privacy, excessively dark tints can reduce visibility, especially during night driving or in adverse weather conditions. If you find that your tinted windows are impairing your ability to see clearly, it may be safer to remove or lighten the tint.
Resale Value
When selling your vehicle, excessively dark or non-compliant tints can deter potential buyers. Removing tinted windows to restore a more universally appealing look can help in attracting more buyers and potentially increasing your vehicle’s resale value.
How to Safely Remove Tinted Windows
Gather Necessary Tools
To remove tinted windows safely, you will need a few essential tools: a heat gun or hair dryer, a razor blade or window scraper, adhesive remover, soapy water, and a microfiber cloth.
Step-by-Step Guide
- Heat the Tint: Using a heat gun or hair dryer, gently heat the tint to soften the adhesive. Hold the heat source a few inches away from the window to avoid overheating and damaging the glass.
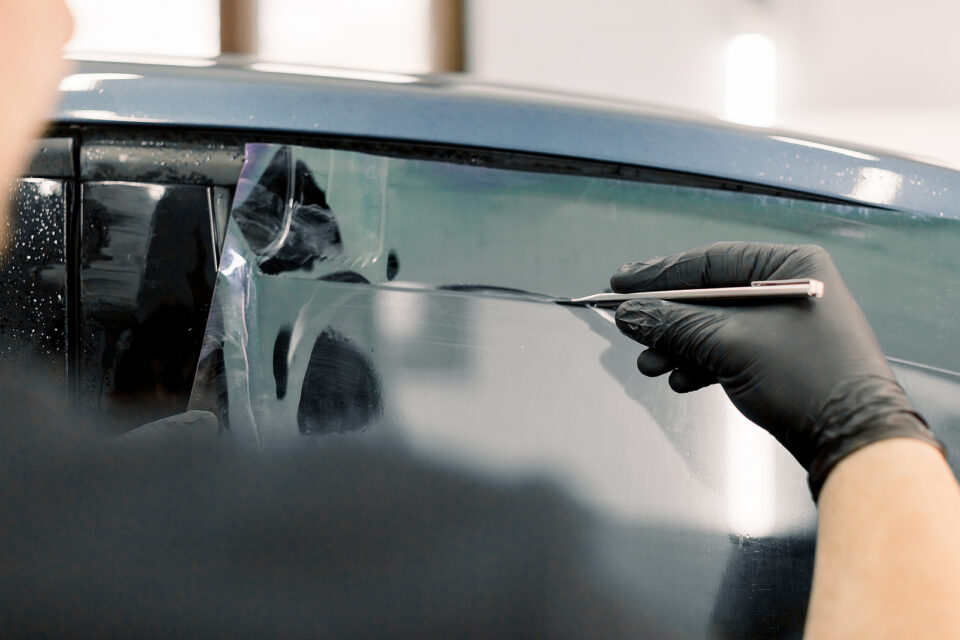
- Peel Off the Tint: Starting from a corner, use a razor blade or window scraper to lift the edge of the tint film. Once you have a good grip, slowly peel the tint off the window. If the film starts to tear, reapply heat to soften the adhesive further.
- Remove Adhesive Residue: After the tint is removed, adhesive residue may remain on the window. Spray the residue with soapy water or adhesive remover and let it sit for a few minutes. Use a razor blade or scraper to gently remove the softened adhesive. Be careful not to scratch the glass.
- Clean the Window: Once all adhesive is removed, clean the window thoroughly with soapy water and a microfiber cloth to ensure a streak-free finish.
Tips for a Smooth Process
Work in a well-ventilated area to avoid inhaling fumes from the adhesive remover.
Be patient and gentle to avoid damaging the glass or window defrosters.
Consider professional help if the tint is proving difficult to remove or if you are unsure about the process.
Removing tinted windows can be a straightforward process when approached with the right tools and techniques. Whether you’re ensuring legal compliance, addressing damage, or preparing your vehicle for resale, understanding how to safely remove tint will keep your vehicle in top condition. Always check your local tint regulations and proceed with care to maintain the integrity of your windows.

